This chapter is the first of three dealing with web scraping, the automated, programmatic collection of data from websites. You can already collect data from webpages manually, by visiting each desired page, highlighting, copying, pasting, and moving to the next page. But when the data is scattered across hundreds or thousands of pages, this is where your programming skills give you a huge edge.
A web scraper, built from a few lines of code, can prevent insanity and carpal tunnel syndrome by download all the webpages you want while you go out for lunch. With a little more sophistication, though, your web scraper can leverage the structured nature of webpages to collect, normalize, and store the data in a nice tab-delimited text file or database.
This requires examining the structure of the target webpage. But if you're not a web designer, going through the source code of a webpage to figure out its structure will be a major headache.
And it's that way for experienced web designers. That's why even the best of them use their browsers' web inspector, a tool built into most major browsers that hugely reduces the frustration in reading through raw HTML.
This chapter walks you through the basics of using your web inspector to easily find the parts of a webpage for your web scraper to read and parse. In fact, the web inspector is useful for a lot of non-programming tasks, which is why there will be no coding skills needed for this chapter.
Your browser's web inspector
All of the major browsers have a web inspector built-in or available to them.
I use Google Chrome's inspector because Chrome is my default browser; Safari uses the same inspector. Firefox has an optional extension called Firebug, which has a little more functionality that is sometimes worth switching over for.
(If you're using Safari, first go to Preferences » Advanced and select Show Develop menu in menu bar.)
Activating the web inspector
You can activate the web inspector in any of the above browsers by right-clicking on any element in the page, such as a photo. A pop-up menu should appear with the option to Inspect Element:
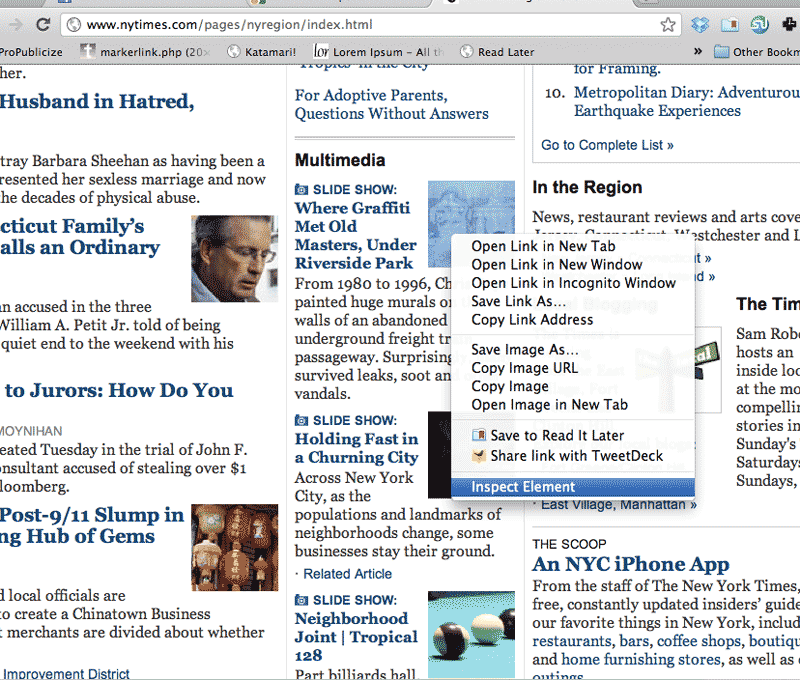
Selecting Inspect Element will pop-up a panel, usually in the bottom-half of your browser, showing where the element exists in the HTML source.
In the screenshot below, I have chosen to inspect the "I'm Feeling Lucky" button on the Google homepage. The inspector (in the bottom panel of the browser) highlights where in the HTML that the "Lucky" button appears:
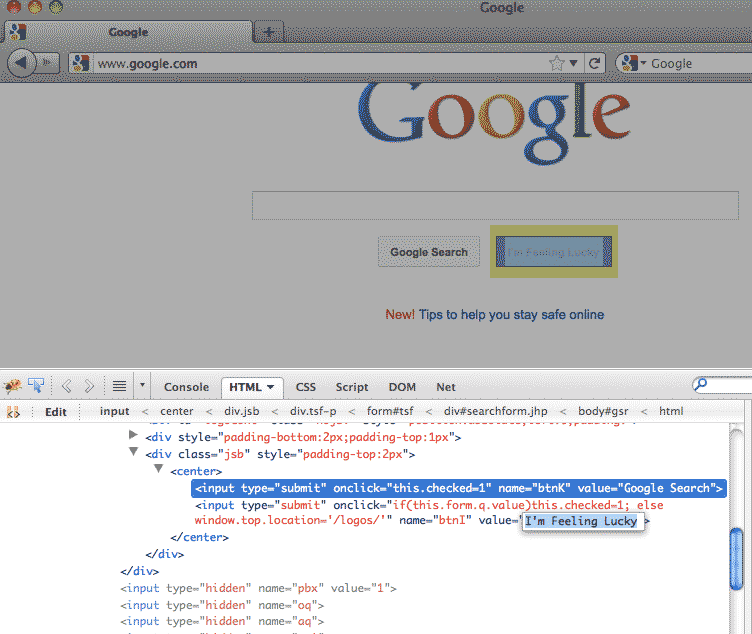
There's not much more to it. The web inspector gives us a handy point-and-click interface for browsing the underlying structure of a webpage. That may not sound sexy, but it's a pretty welcome alternative to having to go through raw HTML in your text-editor.
Use the Inspector to read HTML
Even for experienced web designers, locating individual elements inside raw HTML code is a tedious, painful process. The browser web inspector, however, makes this task a simple point-and-click exercise.
Select a headline
Visit the Wikipedia page of Ada Lovelace.
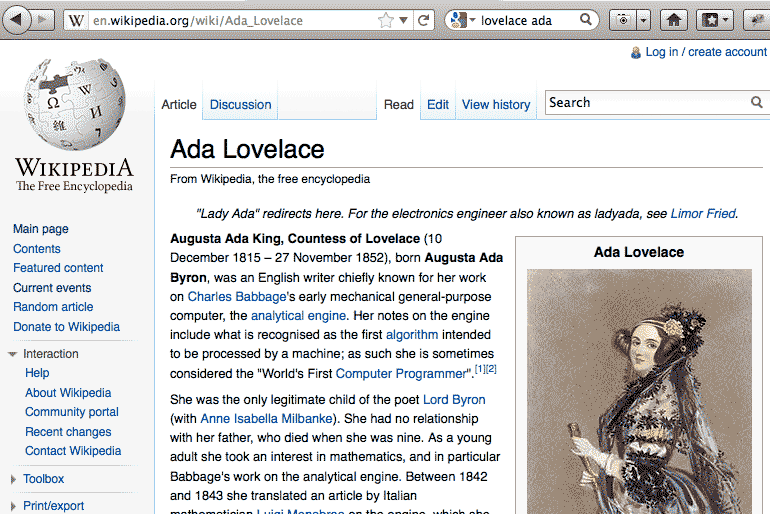
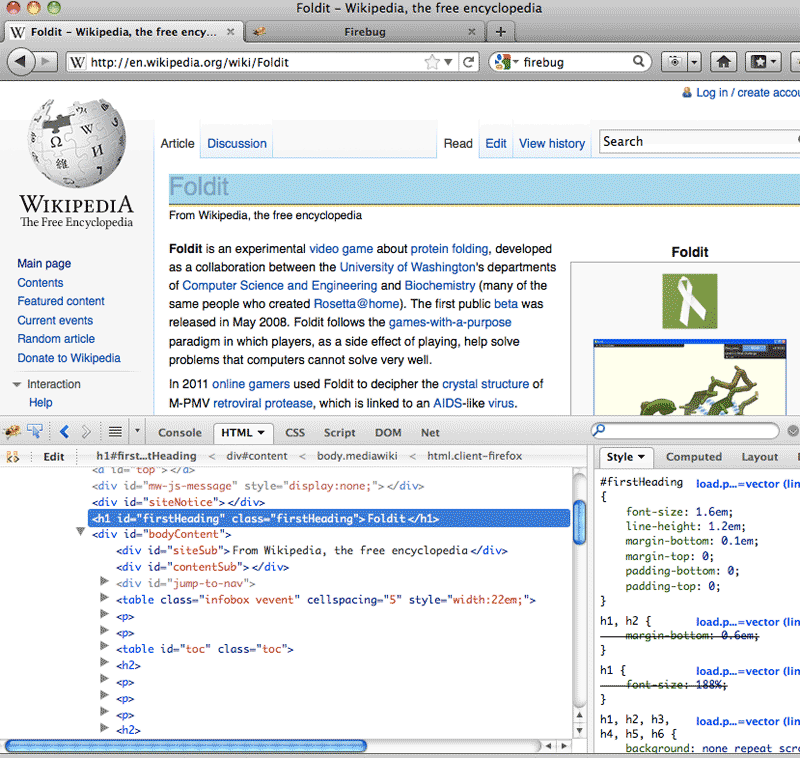
Right-click on the headline "Ada Lovelace" and select Inspect Element from the popup menu. Your web inspector window should pop up; in the example below, it opens up in the browser's bottom panel.
See how the highlighted headline on the webpage corresponds to the raw HTML highlighted in the inspector window?
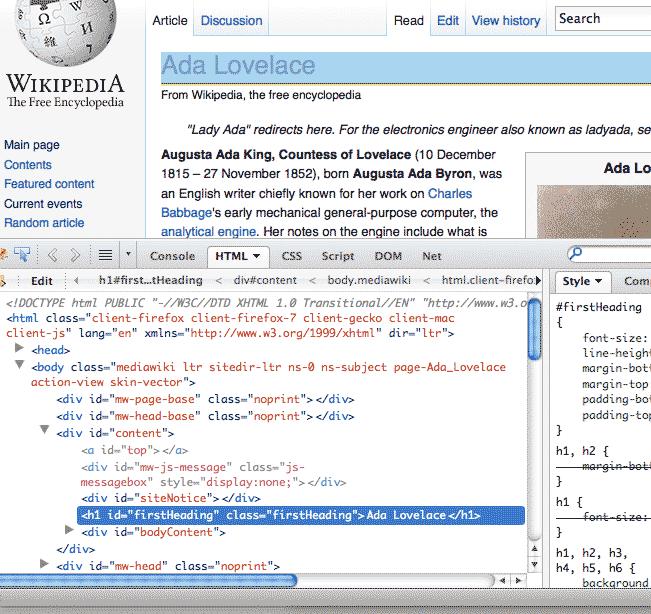
The raw HTML that makes up that headline is:
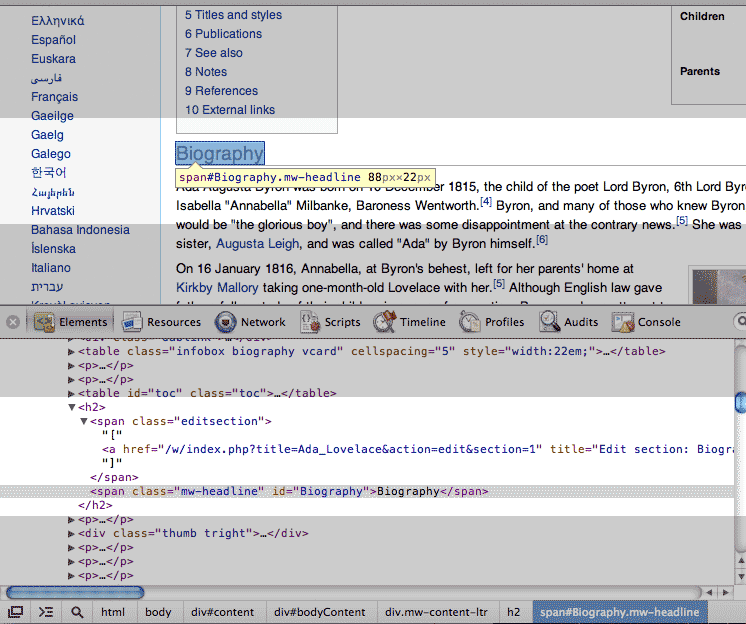
<h1 class="firstHeading" id="firstHeading">Ada Lovelace</h1>Right-click on one of the sub-headings, such as "Biography" and inspect its HTML:
<h2>
<span class="editsection">
[<a title="Edit section: Biography" href="/w/index.php?title=Ada_Lovelace&action=edit§ion=1">
edit
</a>]
</span>
<span id="Biography" class="mw-headline">Biography</span>
</h2>
Depending on where you clicked, you might have only gotten one of the inner <span> tags. But with a closer look at the inspector tab, you can see how the <h2> tag wraps around the relevant <span> elements. There's even an anchor tag <a> tag for the "[Edit]" link that floats to the right of "Biography"
Note that nothing in the HTML markup indicates the orientation of how these various HTML elements are visually oriented by the browser. How is that "[Edit]" floating to the right? That property is dictated by CSS styles, something we don't need to learn about just yet.
Similarly, if I asked you to find where that particular "[Edit]" is in the raw HTML, you wouldn't find it by looking on the right side of the raw HTML. What you see in the browser often won't have the same visual order as it does in the actual HTML code. And this is why using a web inspector is so important.
Read <table> data
Take a look at this HTML data table, which I've cribbed from Wikipedia's list of Nobel laureates:
Check out the w3schools.com guide if you want a formal lesson on HTML tables. If you inspect the table and rollover the elements, you can see how the <table> is made up of rows, <tr>, each of which is made up of columns, <td>.
In the next chapter on HTML parsing, we'll see how easy it is to traverse that HTML structure to pull out the data in any kind of tabular format we wish, such as comma-delimited text.
As it is, you can actually highlight the entire table, copy and paste into Excel. But not all HTML tabular data is as easily copied.
Finding addresses for images
A webpage, of course, is more than just text. But what may not be evident is that those other elements – images, videos, and the like – are (usually) discrete and separate files from the HTML. That is, the web server loads them each individually; the webpage you see before you is not just a monolithic file that the web server glued together before sending it to your browser.
If you've ever been on a less-than-instantaneous Internet connection, then you've noticed the ramifications of this when a webpage loads but has blank spots where the more slowly-loading images should be.
The upshot for us programmers is that we can target these discrete files. And the web inspector makes it easy to find out the actually addresses of those files.
'Unclickable' elements
For six years as a Mac owner – during the post-two-button mouse era – a roommate of mine was completely unaware that such a thing as a "right-click" existed. Ctrl-clicking was also beyond her.
You may or may not be in the same boat. But even if you've known of the ability to right-click, you may not have used it to download an image off a webpage.
Visit this Flickr page for this photo of mine and right-click on the Flickr logo in the top left.
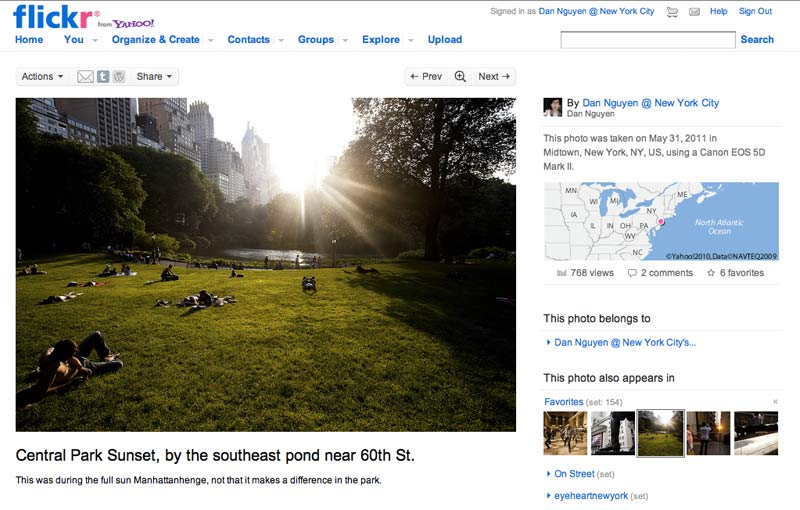
A menu should pop-up with several options, including commands related to the image, such as "Save Image As..." and "Copy Image URL":
Choose Copy Image URL; this stores the URL for the image onto your Clipboard. Open up a new browser window and paste into the address bar and hit Go (or Enter).
Your browser window should only show the Flickr logo. Keep in mind that this isn't a webpage that consists of only the logo. It's just the image file. Your browser is acting as a image viewer for the image file at that URL.
Locating the main image URL
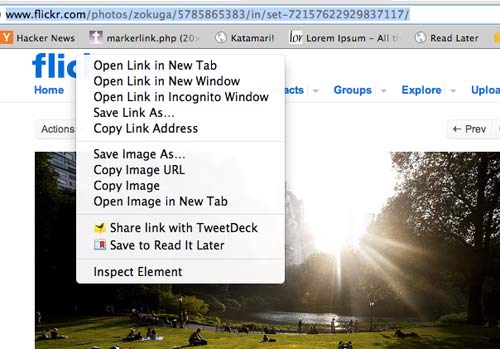
Go back to the previous Flickr page and try right-clicking on the main photo. You may have to do it twice, as the first time will bring up a Flickr-specific menu with the options to view it at different size. The second-right-click should bring up the browser context-menu:

Notice anything missing? All the options to access the image file directly are no longer there.
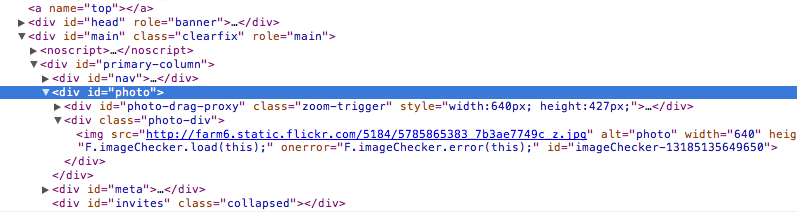
This is because of an HTML trick by Flickr that makes it difficult to right-click on the actual image element. If you inspect the element, you can see that the actual <img> tag is nested in a couple of other elements:
More inspecting fun
No matter how convoluted a webpage's HTML is, the web inspector gives us an easy way to find the piece of the page we want. In the next chapter, we'll see how the inspector helpfully lists all the data and assets that make up the webpage – including files that aren't in the original HTML.
After that, we'll learn how to use the Nokogiri gem to extract data from raw HTML. What you learned in this chapter will make that process much easier.